
1. Start by identifying your face shape
The first step is to work out your face shape according to the image below:

- Oval faces tend to have prominent cheekbones and a forehead that is slightly wider than the chin.
- Heart shaped faces have a wide forehead and high cheekbones, and the face tapers to a narrow chin.
- Square faces have a forehead that is roughly the same width as the cheekbones and chin.
- Round faces are as wide as they are long.
- Oblong/long faces, or “rectangular” as it is sometimes called, are similar to oval and square-shaped faces. The only difference is, the face is longer and less wide. Your forehead, cheeks and jawline will all be pretty much the same width.
- Triangular - if you have a triangular-shaped face, your chin will be narrow and pointed and your high cheekbones will be your most prominent feature.
2. Pick your blush
When it comes to blush, we always recommend choosing liquid, cream and gel formulas. Powder blushes can settle into pores, fine lines and dry skin, making it obvious you're wearing a blush. A liquid or gel blush goes on like a second skin, giving a pretty flush of colour that is well suited for drier or older skins.
Liquid and cream blushes are also much easier to blend, giving a seamless finish to your cheek colour. Whatever shade of blush you choose, the result will look more natural if it blends beautifully into your skin.
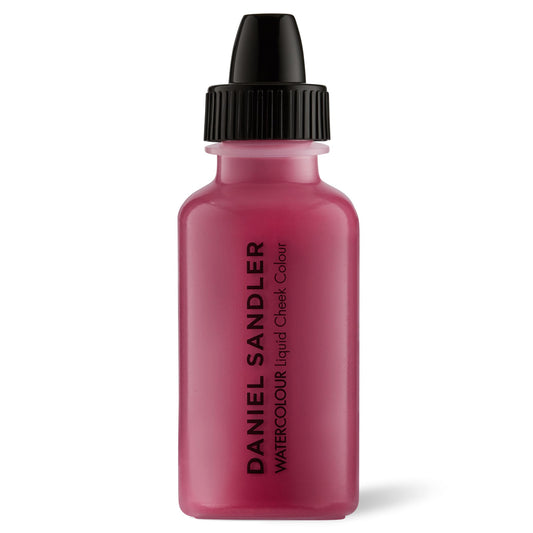
If you've never used a liquid blush before, watch as Makeup Artist Daniel Sandler shows how to apply our multi-award winning Watercolour Liquid Cheek Colour:
Watercolour Liquid Cheek Colour

Need help choosing the perfect shade of blush for your skin tone? Click here to find the perfect shade of blush for you.
3. Where to apply your blusher

- Oval faces - sweep your blush over your cheekbones. You can easily find your cheekbone with your fingers - aim to place the colour just above the bone rather than towards the hollow beneath it to help raise the height of your cheekbone.
- Heart shaped faces - because your face can appear pointy, we need to soften the edges so it appears more like an oval. Apply blush to the outer corner of your cheekbone, starting by your ear and ending at a point below the outer corner of your eye. Also add a touch of colour by your temples, towards the centre of your forehead, to help balance the width of your forehead with your chin.
- Square faces - your cheekbones are the same width as your chin, so to help define them apply your blush slightly below the cheekbone. Blush in the hairline will help soften the edges of your face.
- Round faces - try not to use pearlised or highly reflective blushers as these reflect the light well and make a surface appear more round, which we want to avoid - matte blushers would be best for you. Sweep your blush from the ear down the cheekbone towards the mouth. Add a little touch of blush to the chin and blend it well to make your face appear longer.
- Oblong/long faces - Apply blush on cheekbones below the outer corners of the eyes and blend well. Be sure the blush never extends lower than the tip of the nose. This will help shorten your features.
- Triangular faces - Blush should be applied in a sideways V on the cheekbones. Blend up from your cheekbones to your temple and then extend the blush over your brow a bit toward the center of your forehead. This will help to balance the width of your forehead with the rest of your face.
Now that you're a pro at applying blusher, why not check out our top tips on how to contour.